Slug: capcut-speed-ramp-not-working · Meta description: ** CapCut speed ramp not ramping – flat line, no change, or a hard jump? Fix the 5 real causes – Normal mode instead of Curve, missing speed keyframes, keyframes on the wrong line, Optical Flow off on the ramp, and a ramp clipped by trimming – with exact phone and desktop steps.
Quick check: open the clip and tap Speed. If you see a single number and no graph, you are in Normal mode – that sets one speed for the whole clip and there is no ramp to see. A speed ramp only exists in Curve mode, where the speed line is editable and you drop keyframes to shape acceleration and deceleration. Also confirm where your keyframes live. Transform keyframes (Scale or Position) change how the clip moves on screen; they do NOT change playback speed. The ramp must be built on the dedicated speed line inside Curve mode.
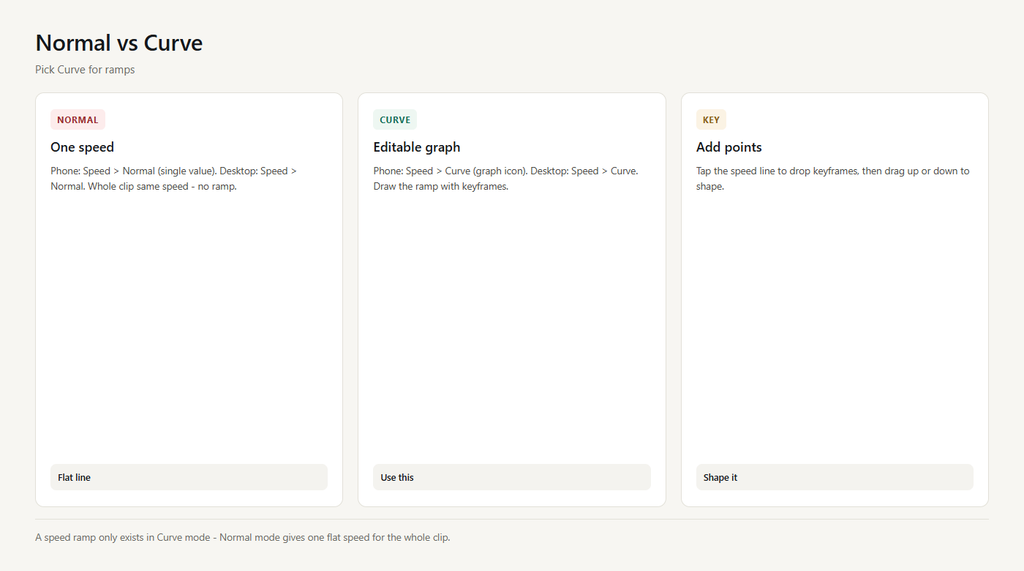
Problem 1: You are in Normal mode, not Curve
Normal mode applies one speed value to the entire clip – there is no editable graph, so a ramp is impossible. The curve editor that lets you speed up and slow down within one clip is a separate mode.
- Select the clip. On phone tap ‘Speed’ in the toolbar; on desktop open the right panel ‘Speed’ tab.
- Switch to Curve. Phone: tap the ‘Curve’ option (graph icon) at the top of the Speed panel; desktop: click ‘Curve’ in the Speed section.
- The speed line now appears and is editable – this is where the ramp lives.
- If you only ever used the handle in Normal mode, delete that setting and rebuild in Curve.
Problem 2: There are no keyframes on the speed line
A ramp is defined by at least two points on the speed graph. With zero keyframes the speed is uniform, so nothing ramps – the clip just plays at whatever the default line height is.
- In Curve mode, tap on the speed line to drop a keyframe (a dot) at the point where you want speed to start changing.
- Move the playhead to where the ramp should end and tap the line again to drop a second keyframe.
- Drag the second keyframe up to speed up or down to slow down – the line between them is your ramp.
- On desktop, click the line to add points and drag them; right-click a point to delete if needed.

Problem 3: Your keyframes are on transform, not speed
Keyframing Scale or Position (the diamond or graph in Basic) animates the clip’s motion on the canvas. It does nothing to playback speed. If you built the ramp there, the speed line stayed flat and the clip never ramps.
- Open Speed > Curve and confirm the speed line itself has the keyframes (dots on the speed graph).
- If your keyframes are in Basic (Scale or Position), those are motion keyframes – leave them or delete them; they are not the ramp.
- Add the actual speed keyframes on the speed line as described in the previous fix.
- Preview: the timeline speed indicator should now show a varying rate, not a constant one.
Problem 4: Optical Flow is off, so the ramp looks like a hard cut
When speed changes across a ramp, CapCut must fill or drop frames between the fast and slow sections. Without Optical Flow it just holds or repeats frames at the transition, so the ramp reads as an abrupt jump rather than a smooth acceleration.
- In the Speed settings, enable Optical Flow. Phone: Speed > gear > Optical Flow on; desktop: Speed panel > tick Optical Flow.
- Replay the ramp – the fast-to-slow transition now interpolates instead of snapping.
- If Optical Flow is greyed, the clip may be a still or merged layer – expose the real video clip first.
- Keep the ramp gentle – avoid going from 1x straight to 0.1x in two frames – so interpolation has room to work.
Problem 5: The ramp is too short or got clipped by trimming
A ramp squeezed into a few frames is imperceptible, and trimming the clip after ramping can delete the keyframes sitting at the edges, flattening the speed back to uniform.
- Give the ramp at least about 0.5 seconds of clip so the change is visible and interpolation is stable.
- Apply the ramp BEFORE doing your final trim; trim last so you don’t cut the keyframes off.
- If the clip was already trimmed, re-open Curve and re-drop the speed keyframes that were removed.
- On desktop, right-click the clip > ‘Show keyframes’ to see whether the speed points survived the trim.
FAQ
How do I do a speed ramp in CapCut?
Select the clip, open Speed, switch to Curve mode, then tap the speed line to add at least two keyframes and drag them to shape acceleration and deceleration. Enable Optical Flow for a smooth transition.
Why is my CapCut speed curve not changing anything?
You are likely in Normal mode (one speed, no graph) or you have no keyframes on the speed line. Switch to Curve and add speed keyframes on the speed line itself, not on transform.
What is the difference between Normal and Curve speed in CapCut?
Normal sets a single speed for the whole clip. Curve lets you draw a variable speed graph with keyframes so the clip accelerates and decelerates within one take.
Why does my speed ramp look choppy or jumpy?
Optical Flow is probably off, so CapCut holds or repeats frames at the transition. Turn on Optical Flow in the Speed settings and keep the ramp gradual.
Can I speed ramp and reverse the same clip in CapCut?
Do the ramp first, then apply Reverse – applying reverse on top of a curve can drop the effect. If it misbehaves, clear the cache and re-apply in that order.