CapCut mosaic / pixelate effect missing, greyed out, or not covering the target? Fix the 5 real causes – wrong tool name, whole-frame coverage, sticker vs effect confusion, layer order, and export bug – with phone and desktop steps.
CapCut does not have a button literally labeled ‘Mosaic’ in every region – the pixelate effect is under ‘Effects’ > ‘Basic’ (sometimes named ‘Pixelate’, sometimes ‘Mosaic’), and there is also a ‘Blur’ you can crank to full for a similar look. If you searched ‘mosaic’ in the toolbar and found nothing, you were in the wrong tab. Start here.
1. ‘Mosaic’ isn’t a labeled button – use Effects > Pixelate
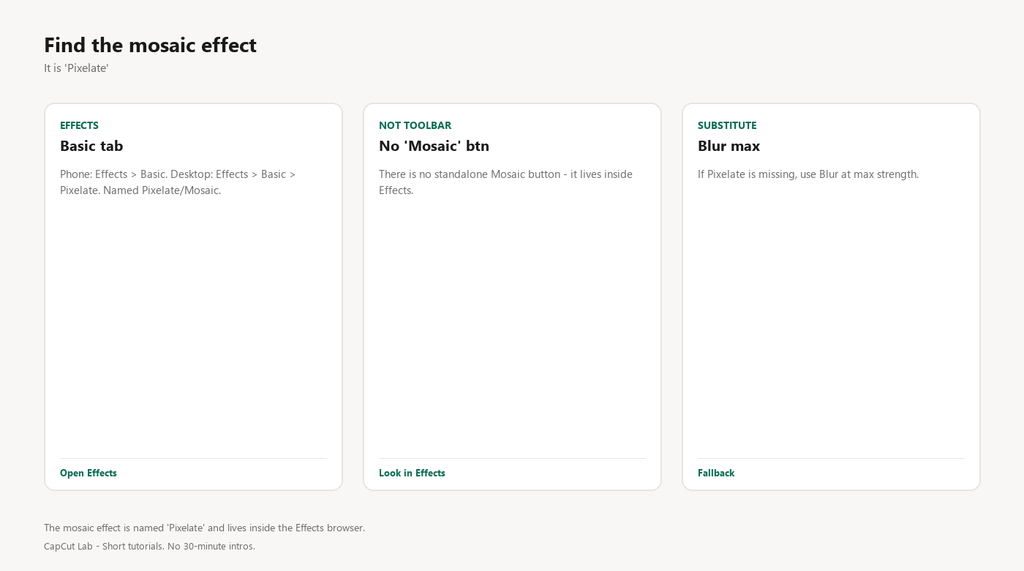
The effect is named ‘Pixelate’ (or ‘Mosaic’ in some builds) inside the Effects browser, not a standalone toolbar tool. Users hunting a ‘Mosaic’ button never find it.
Fix
- Select the clip.
- Phone: tap ‘Effects’ (sparkle icon) > ‘Basic’ (or ‘Video’) > find ‘Pixelate’ / ‘Mosaic’. Desktop: top menu ‘Effects’ > ‘Basic’ > ‘Pixelate’.
- Drag the effect onto the clip; it now pixelates the whole frame.
2. It covers the whole frame, not just the target
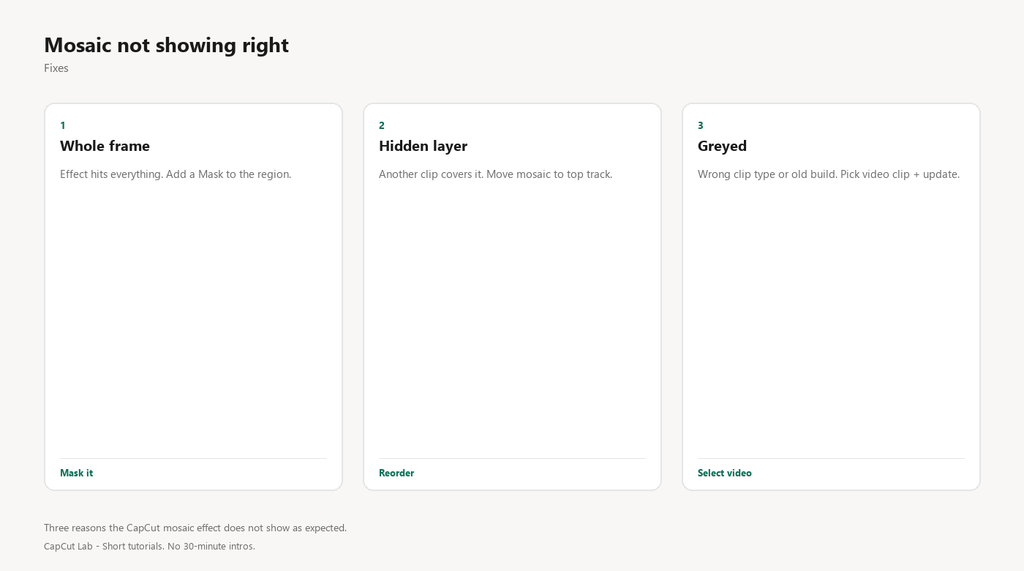
By default the effect hits the entire clip. To mosaic only a face or license plate you need the effect revealed through a mask, not applied to the full frame.
Fix
- Add the Pixelate effect, then open its layer and use ‘Mask’ (phone: effect layer > Mask; desktop: right panel > Mask) to reveal only the area.
- Or use a duplicated clip as an overlay: pixelate the top clip and mask it to the region.
- Resize the mask box over the face/plate you want pixelated.
3. Effect greyed out or missing in your region/build
Some CapCut builds hide certain Basic effects behind Pro or roll them out late. A greyed effect also means the selected item does not support it (e.g., applied to an audio track).
Fix
- Make sure a VIDEO clip is selected, not audio or an empty track.
- Update CapCut – greyed effects sometimes unlock after an update.
- If Pixelate is truly absent, use Blur set to maximum strength as a substitute, or the ‘Pixelate’ sticker.
4. Layer order: your mosaic is buried under another clip
If a second clip or sticker sits above the pixelated one, it hides the effect. CapCut stacks top-down, so track order decides what you see.
Fix
- On the timeline, check which layer is on top.
- Drag the pixelated clip/sticker to the top track, or move the covering layer below it.
- On desktop, use the layer panel to reorder.
5. Export drops the mosaic (cache/version bug)
Same overlay-strip bug as blur – a cached or interrupted render can omit the effect, especially on Android.
Fix
- Update CapCut and clear cache (phone: Settings > Apps > CapCut > Storage > Clear cache).
- Scrub before exporting to confirm the mosaic is visible.
- If it still vanishes, re-add the Pixelate effect after the update and export at default settings.
Pro tip: Want true square-pixel mosaic rather than a soft blur? Use the ‘Pixelate’ effect, not ‘Blur’. Blur at max just looks smeared; Pixelate gives the censored-tile look people expect.
FAQ
Where is the mosaic effect in CapCut?
It is called ‘Pixelate’ under Effects > Basic (phone) or Effects > Basic > Pixelate (desktop). Some builds label it ‘Mosaic’.
How do I mosaic only one part of the video?
Apply Pixelate, then use a Mask on that effect layer to reveal only the region, or overlay a pixelated duplicate clip masked to the area.
Why is the mosaic effect greyed out?
Usually the wrong clip type is selected (audio/empty), or your build gates it. Select a video clip and update CapCut.
Mosaic vs Blur – which should I use?
Use Pixelate/Mosaic for a censored tile look; use Blur for a soft hide. They are different effects under Effects/Basic.
Why did my mosaic disappear after exporting?
A cache or version bug can drop overlays. Update, clear cache, recheck the timeline, then re-export at default settings.